Your Complete Guide to Safely Disinfecting a Used Phone, The Germ-Free Grab
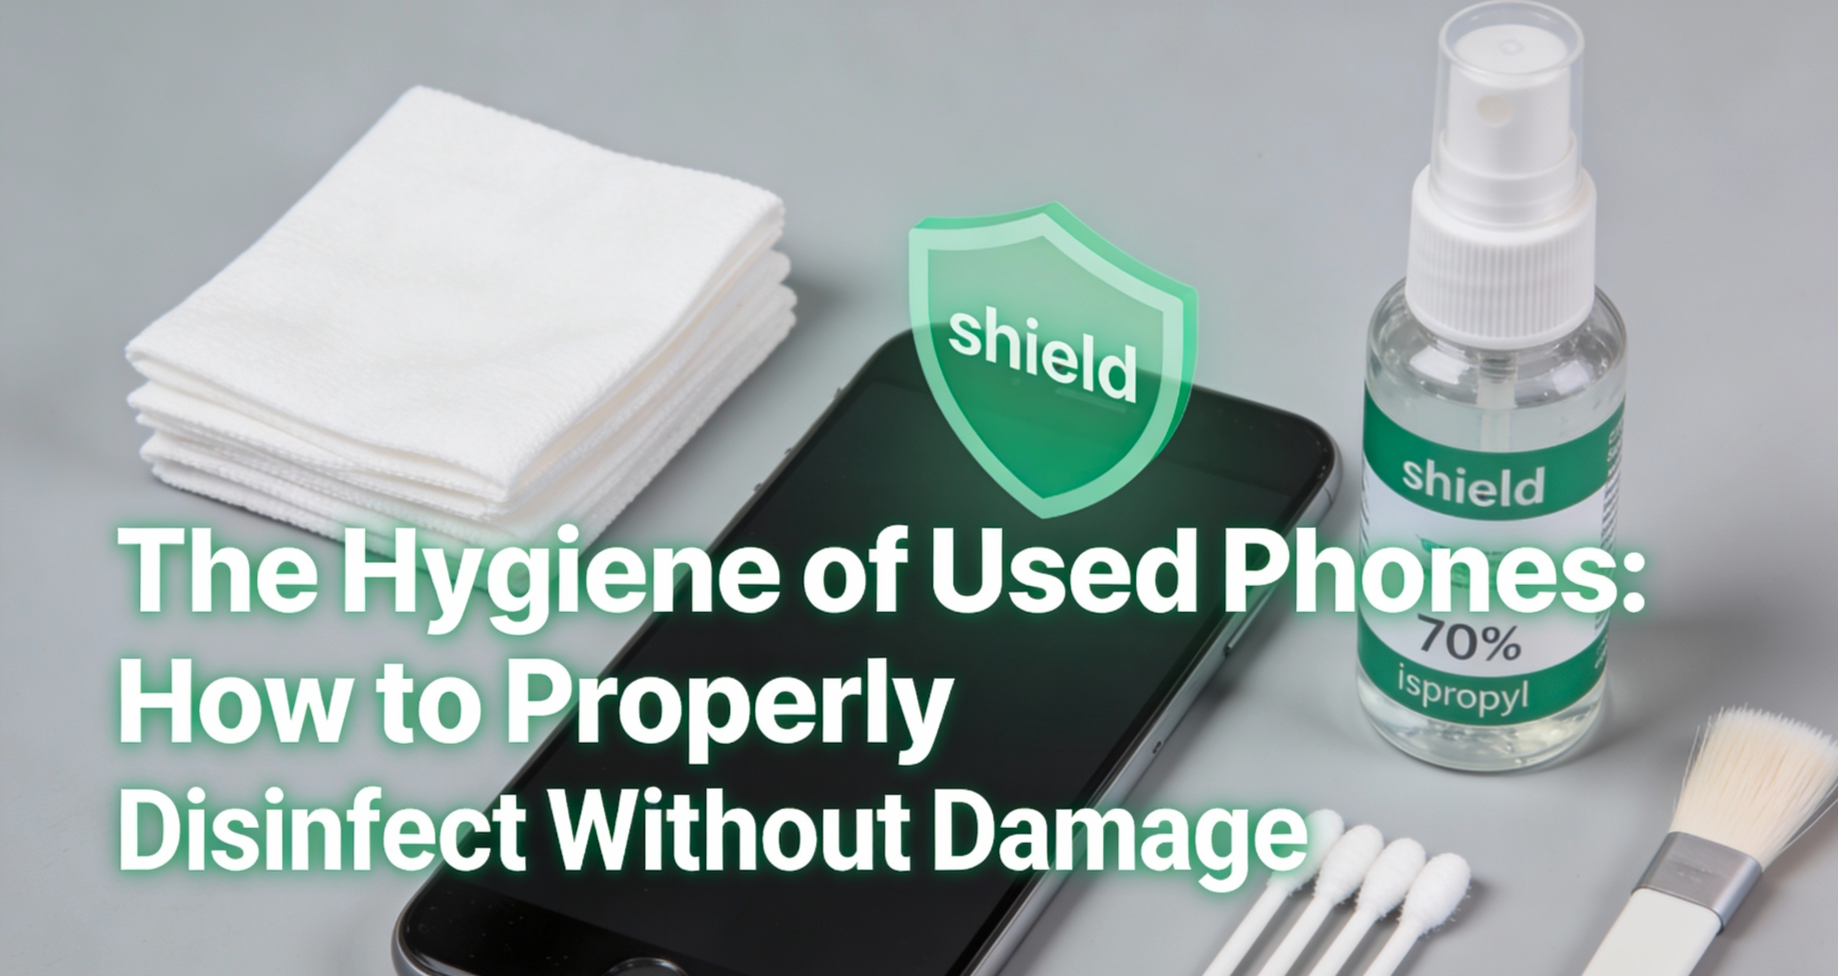
Buying a used phone is one of the smartest tech moves you can make in 2025. The value, the specs, the sustainability it all adds up. But let’s address the elephant in the room: where has this phone been? The previous owner’s habits, their cleanliness, the invisible world of germs and grime living on that screen and in those ports… it’s enough to give anyone pause.
You shouldn't let hygiene fears stop you from scoring a great deal. Instead, you need a proper, safe cleaning protocol. This isn't about a quick wipe with your t-shirt; it's about a thorough, medically-informed disinfecting process that eliminates pathogens without harming your new (to you) device. Here is your step-by-step manual for achieving peace of mind and a pristine phone.
Why Standard Cleaning Isn't Enough: Understanding the Risks
Your average cleaning cloth might remove fingerprints, but it does nothing against bacteria like Staphylococcus or viruses, including influenza and common cold viruses, which can survive on glass and plastic surfaces for hours or even days. A used phone has been in pockets, bags, on tables, and held against a face. A simple wipe-down is cosmetic. What we're aiming for is disinfection the reduction of microorganisms to a level that is not harmful to health.
However, the modern smartphone is a fragile ecosystem. Harsh chemicals, excessive moisture, and abrasive materials are the sworn enemies of oleophobic screen coatings, water-resistant seals, and delicate internal components. The goal is a surgical strike: maximum germ-killing efficacy with zero collateral damage.
Phase 1: The Pre-Cleaning Power Down & Teardown
1. Unplug and Power Off Completely.
This is non-negotiable. Cleaning a powered-on device risks short-circuiting if liquid seeps in. Turn it off and unplug any cables.
2. Remove All External Armor.
Take off the case immediately. This is often the germiest part of the phone. Depending on the case material (see below), it may need a separate, more aggressive cleaning. Also, remove any screen protector. You’ll be applying a new one later.
3. Eject the SIM and (if possible) Memory Card Tray.
Use the SIM ejector tool. This exposes a small port where debris and moisture love to hide. Set the tray aside on a clean paper towel.
Phase 2: The Arsenal – Choosing Your Weapons Wisely
Forget Windex, hand sanitizer, or bleach. These are device killers. Here’s what you need:
-
The Solution: 70% Isopropyl Alcohol (IPA). This is the gold standard. It's highly effective at killing a broad spectrum of microbes and, crucially, it evaporates quickly without leaving a residue. Why 70% and not 90%? The higher water content in 70% IPA allows it to penetrate microbial cell walls more effectively. It’s also less harsh on coatings.
-
The Applicator: Microfiber Cloths. The soft, non-abrasive material is perfect for screens. Have two on hand: one slightly damp for cleaning, one dry for buffing.
-
The Tools:
-
Cotton Swabs (Q-tips): For precise work around camera lenses, buttons, and ports.
-
Soft-Bristled Brush: A new, clean makeup brush or camera lens brush is ideal for dislodging dust from speaker grilles and crevices.
-
Can of Compressed Air: For blowing out the charging port, speaker, and microphone holes.
-
-
The Final Defense: A High-Quality Screen Protector & New Case. After disinfecting, applying a fresh tempered glass protector and a new case (or deeply cleaning the old one) creates a hygienic barrier.
Phase 3: The Surgical Cleaning Procedure
Step 1: The Dry Brush-Off.
Use your soft-bristled brush to gently sweep away any loose dust, sand, or lint from the ports, camera rings, and the rim where the screen meets the frame. Follow this with a short, controlled burst of compressed air into the charging port and speaker grilles, holding the can upright to avoid spraying propellant.
Step 2: Preparing Your Cleaning Cloth.
Do not spray alcohol directly onto the phone. Always apply it to the microfiber cloth first. Dampen one corner of the cloth lightly with 70% IPA. It should be damp, not dripping wet. The goal is to moisten the surface for disinfection, not to soak the device.
Step 3: The Main Disinfection.
-
Screen & Back: Gently wipe the screen and the back of the phone in a single direction using the damp section of the cloth. Use light pressure. Avoid small, hard circles. Pay extra attention to the edges.
-
Sides & Buttons: Use a clean edge of the damp cloth to wipe the sides, carefully cleaning around the power and volume buttons. A damp cotton swab is perfect for running along the seams of the buttons.
-
Cameras & Ports: This is a critical step. Use a lightly dampened cotton swab to gently circle the camera lenses and the outer rim of the charging port, headphone jack, and speaker openings. Do not insert a wet swab deep into any port. The goal is to clean the exposed exterior rim where grime accumulates.
"Disclaimer: While this guide is based on professional cleaning standards, CellKaro is not responsible for any damage to your device. Always follow your manufacturer’s specific guidelines."
Step 4: The Dry Buff.
Immediately use the dry, clean microfiber cloth to buff the entire device to a streak-free shine. This removes any remaining moisture and ensures no residue is left behind.
Step 5: The Waiting Game.
Let the phone sit, powered off, for a minimum of 10-15 minutes in a clean, dry, well-ventilated area. This ensures all the alcohol has completely evaporated from every nook and cranny.
Phase 4: The Accessory Aftermath
Cleaning the Old Case:
-
Silicone/Rubber: Wash with mild soap and warm water. Rinse thoroughly and let it air-dry completely for 24 hours.
-
Hard Plastic/Polycarbonate: Wipe inside and out with your 70% IPA-dampened cloth.
-
Fabric/Leather: Use a dedicated fabric or leather cleaner. Avoid soaking.
The SIM/Memory Tray:
Wipe gently with an alcohol-dampened corner of the microfiber cloth and let it dry fully before reinserting.
Phase 5: Reassembly & The Fresh Start
Once you are confident everything is 100% dry, reinsert the SIM tray. Power on the device. If it boots up normally, you’ve succeeded. Now, apply your brand-new screen protector and either place the phone in its thoroughly cleaned old case or a brand-new one.
The "Never-Ever" List: How to Avoid a Costly Mistake
-
NEVER use household cleaners (ammonia, bleach, abrasive sprays).
-
NEVER use paper towels, napkins, or your shirt they can scratch.
-
NEVER spray any liquid directly onto the phone.
-
NEVER submerge the phone, even if it's "water-resistant." Those seals degrade over time on a used device.
-
NEVER use excessive heat (like a hairdryer) to dry the phone.
Conclusion: Hygiene is the Final, Crucial Step in Smart Buying
Purchasing a used phone is an act of financial and environmental intelligence. Disinfecting it properly is an act of personal care. By investing 20 minutes in this meticulous process, you transform a device with an unknown past into a clean, safe, and truly yours piece of technology. You gain all the advantages of the second-hand market without compromising on your wellbeing. Now, with clean hands and a cleaner phone, you can truly enjoy your brilliant find. lets find your next phone

Comments
Please login to post a comment
LoginNo comments yet. Be the first to comment!